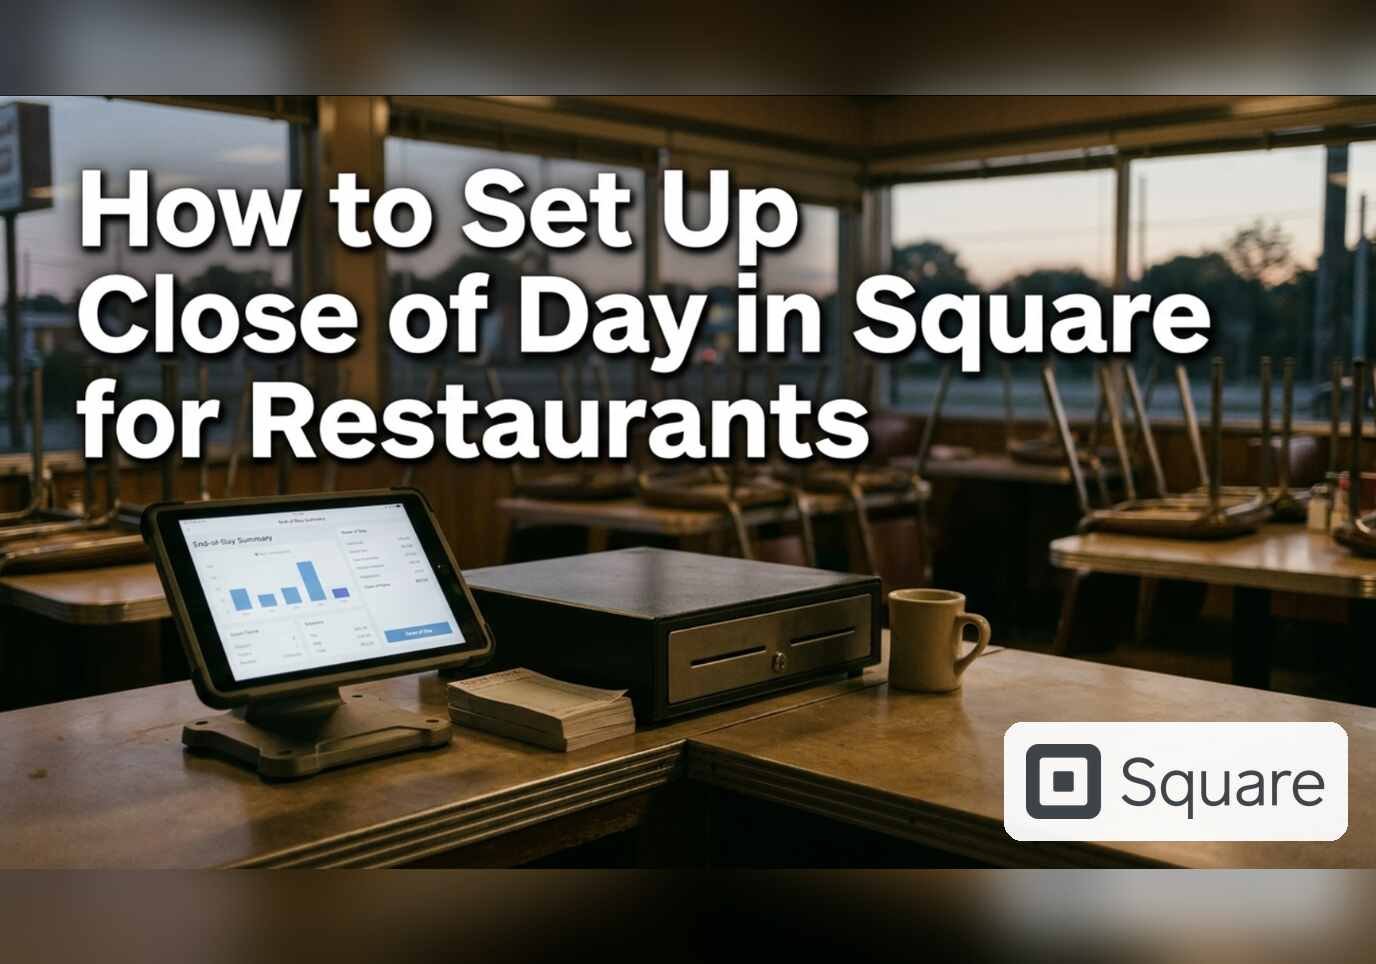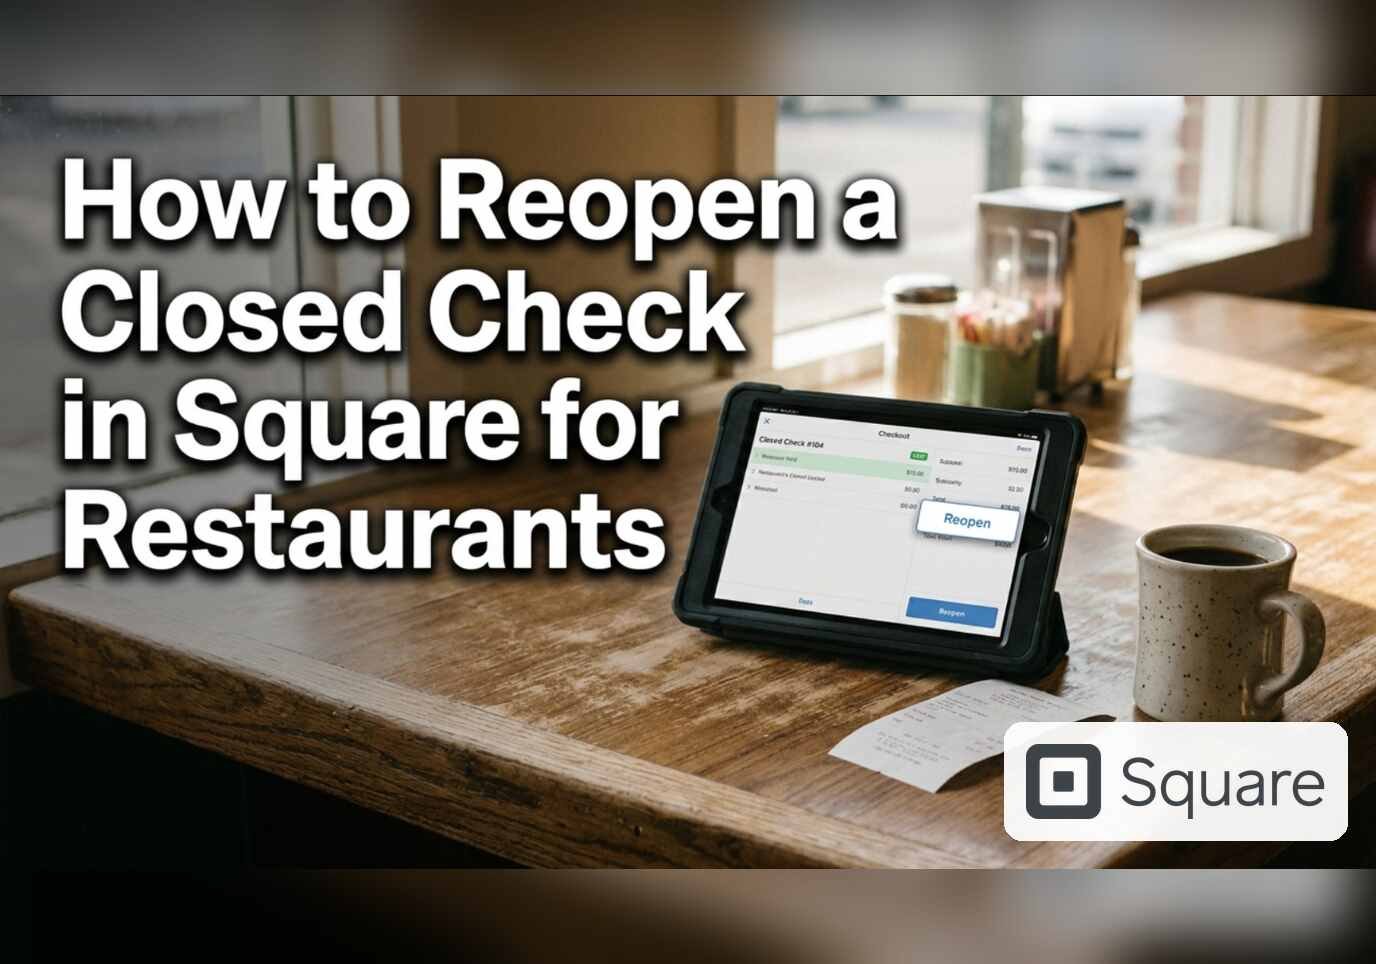
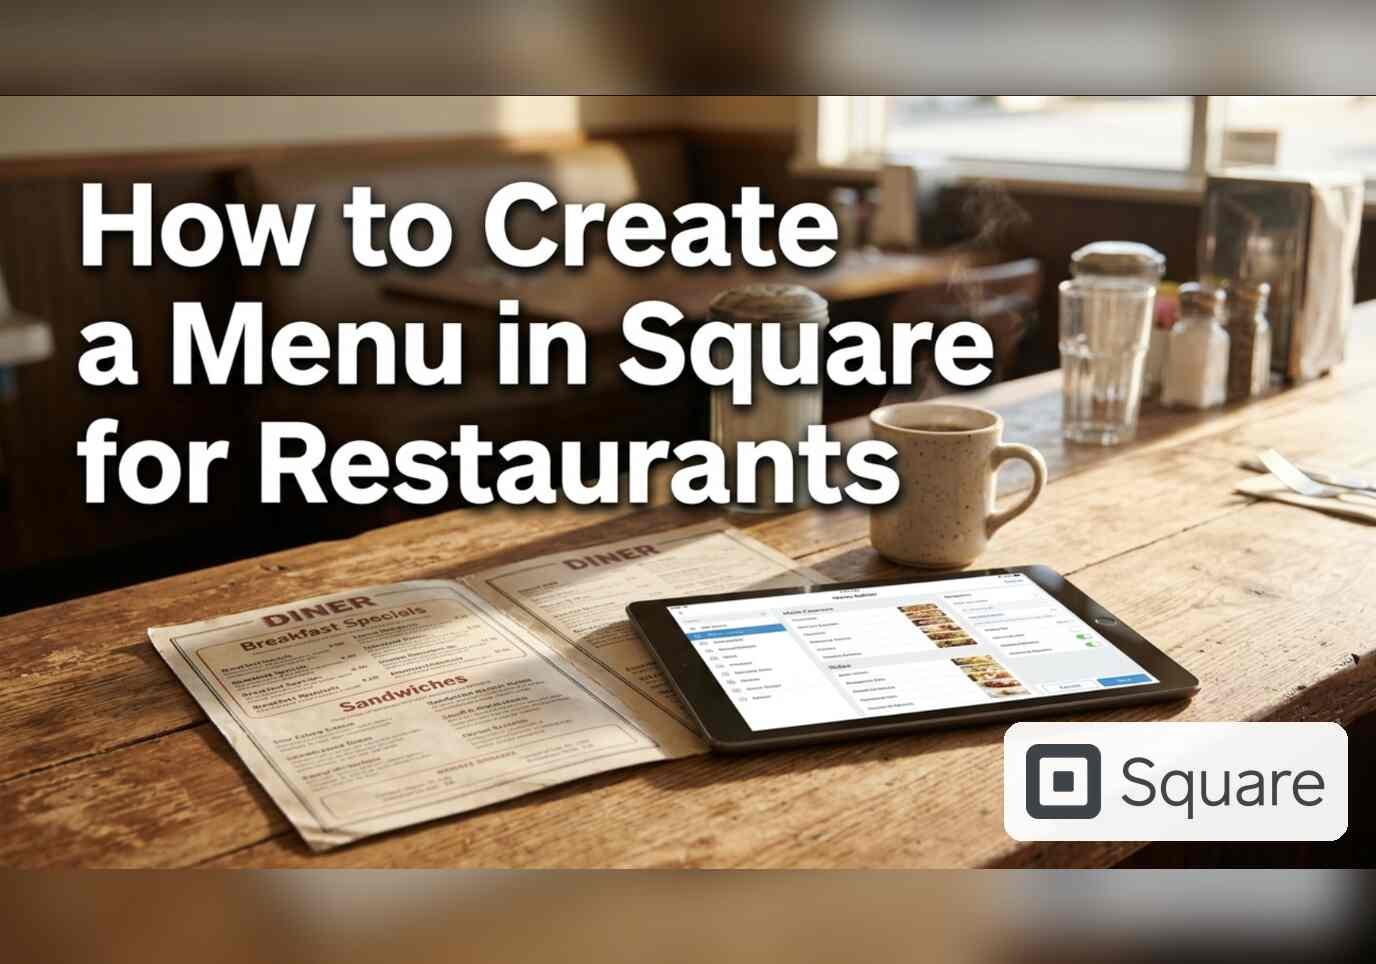
A menu in Square decides which items appear where: on the register in restaurant modes, on a kiosk, on an online ordering page or on delivery apps. Items created in the Item Library do not join a menu on their own. Creating a menu needs items permissions, and on a multi-location account, changing a menu’s name, hours or channels needs access to every assigned location.
Step 1: Open Menus
In the Dashboard sidebar, open Items & services, then Menus. The page lists each menu with its locations and channels, and has a search box and filters for locations and channels. Rearrange and Create a menu sit at the top right.

Step 2: Choose how to start
Create a menu opens a window titled How would you like to start. This account shows six options: use existing categories (marked Recommended), import from the POS, upload a file or photo of an existing menu, import from another platform, create a menu from generated items, and start from scratch. Square’s help page documents four: upload a file, photo or URL, which emails a result usually within 24 hours; import from another platform; generate a starter menu from questions about menu type, cuisine and size; or build manually.

Step 3: Add items and set channels
Building manually means naming the menu, picking a location and saving. Add Item attaches existing items, and Add Multiple Items creates new ones with a name, a kitchen-facing name and a price. After creating the menu, the three-dot icon and Edit menu details set locations and sales channels: POS in restaurant modes, online, kiosk, ordering profile and delivery apps.

Plans
The page applies to Square for Restaurants Free, Plus and Premium and Square Free, Plus and Premium. The POS channel does not appear in standard mode.
Referral: The Heritage Diner runs its register, loyalty program and payroll on Square. A business that signs up through this Square referral link and takes its first payment earns a reward for both sides. Disclosure: Peter Kalafatis has a financial interest in Square referrals.